Creating and Using Macros
If you need to continuously repeat a series of operations or computations in Rulex, you can record these operations as a macro in the development phase. Successive users can then reproduce these operations by launching the specific macro, hence hiding the complexity of the underlying process when necessary.
A practical example of a business application of macros is the feedback loop, when you want the results of an operation to be used as the partial import of the same loop, You must then frequently recompute the workflow, in the right order, each time new data arrives. A macro can make this process easy and fool proof. An example on how macros can be used in such loops is provided in the example below.
Multiple macros can also be merged into a single macro, which can then be executed as a single unit.
Creating a macro
Click the Record Macro icon in the command bar.
Perform the group of operations you want to include in your macro.
Click the Stop recording icon in the command bar when you have finished your operations.,
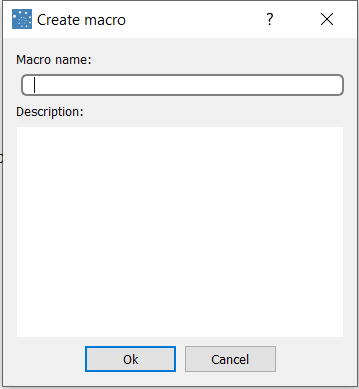
Enter a name and optional description for the macro, then click Ok to save the macro.
Using and modifying macros
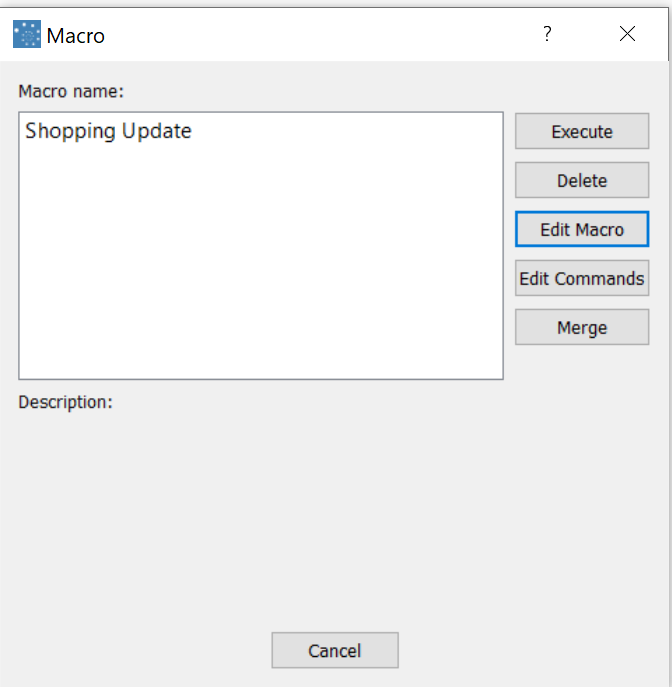
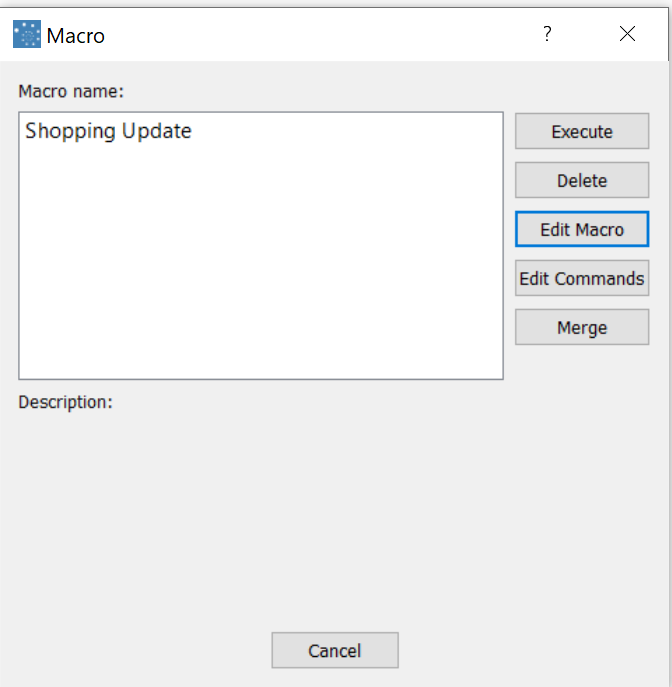
Click the Show Macro Manager icon in the command bar.
Select the macro you want to launch from the Macro name list.
Select the command that corresponds to the action you want to perform, as described in the table below.
Action | Button to click | Instructions |
|---|---|---|
Run a macro | Execute | Just click execute and the macro will run automatically. |
Change macro name | Edit Macro | Just overwrite the previous name and save. |
View and change actions contained in macro | Edit Commands | Careful modify the commands and save. |
Merge multiple macros together | Merge | Enter a new name for the merged macro, and a description if required. Click the plus icon for each macro you want to add, and select the process it belongs to and its name in the table below. You can change the order in which the macros will be executed using the up and down arrows. |
Example
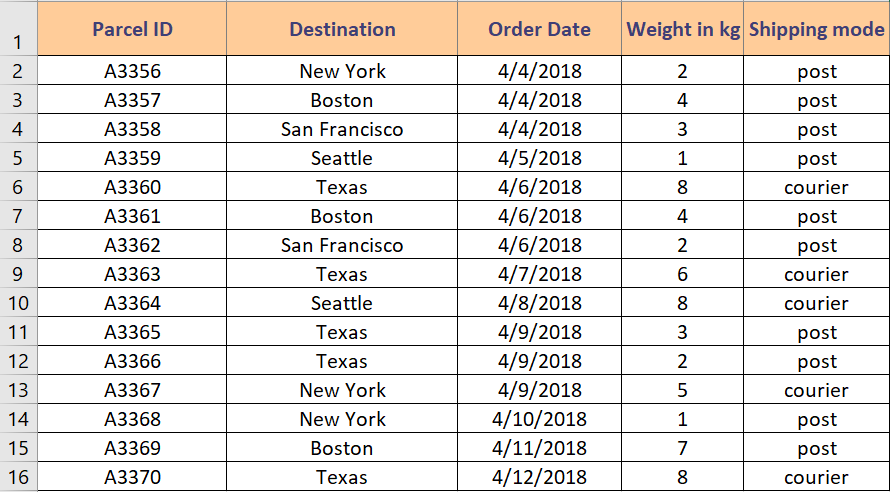
In this very basic example we'll consider shipping data that lists parcels sent by courier. Once a week an operator updates this file with the list of parcels sent during the last week.
In our scenario we want to keep track of all shipping details, without obliging the operator to create a new file every week.
Rather than repeating the operations necessary to update the workflow every time, we'll do it just once, and record it in a macro. The every time new data arrives we just have to launch the macro.
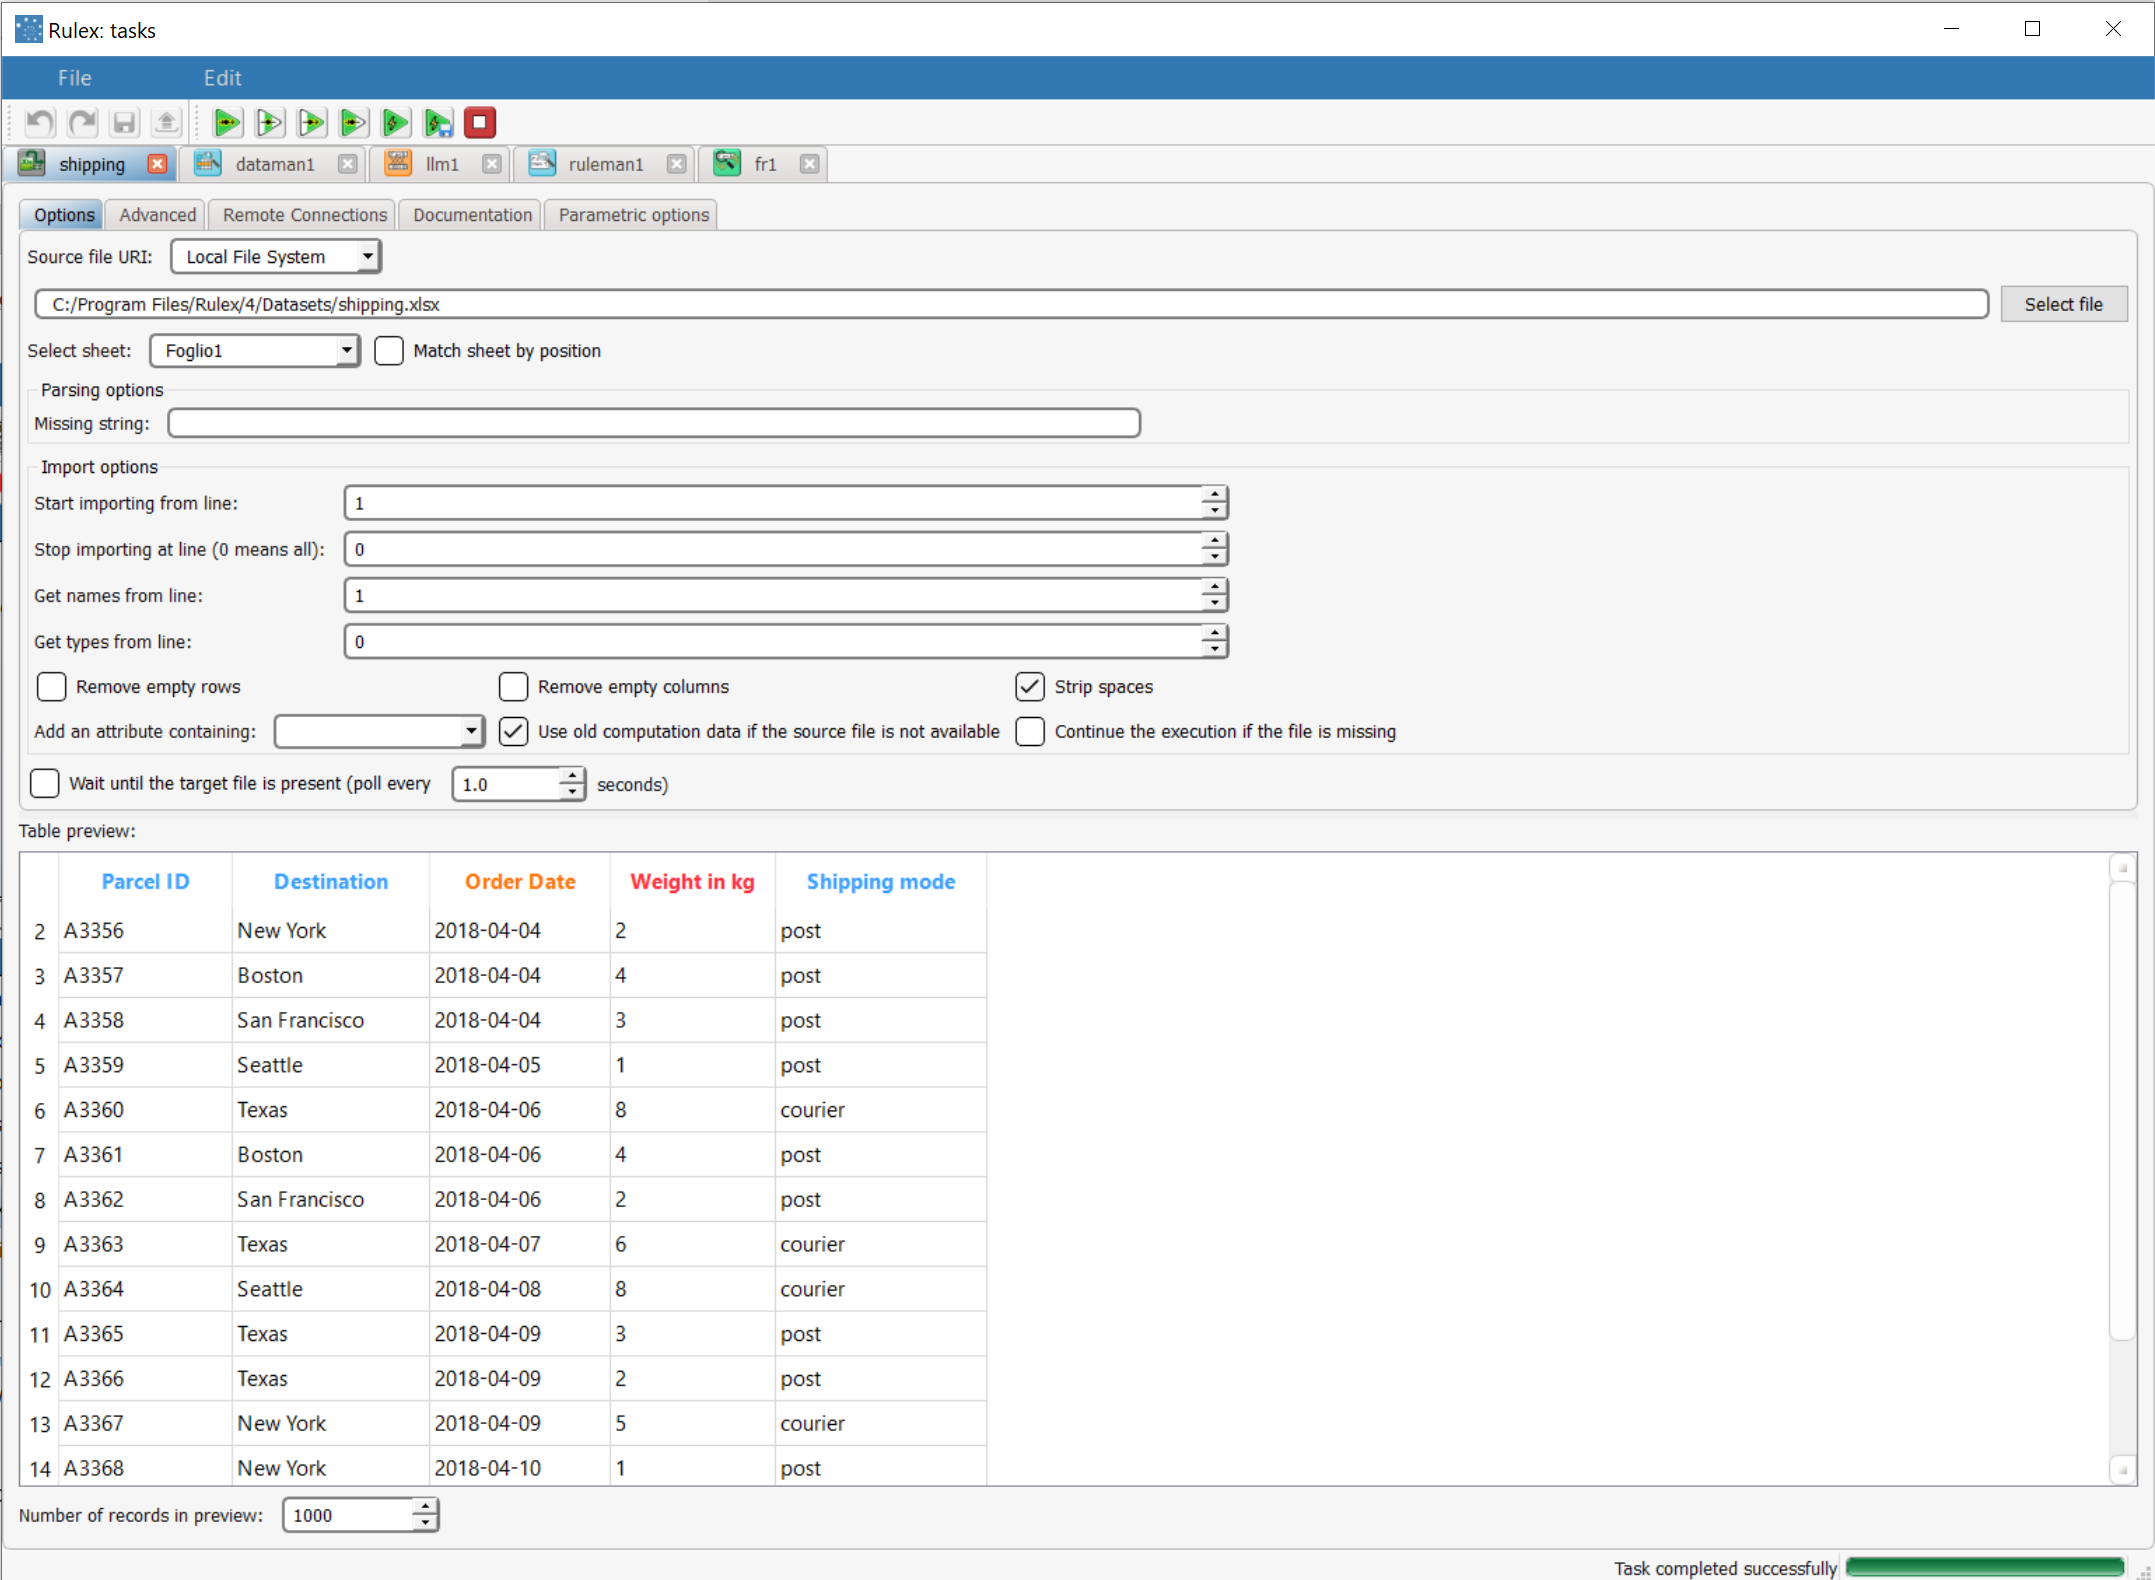
The shipping excel file contains the following data:
Scenario data can be found in the Datasets folder in your Rulex installation.
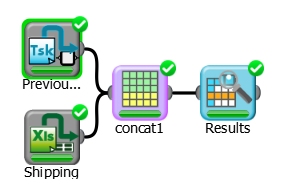
We have created the following Rulex process with:
An Import from Excel File (Shipping) task which imports the excel data file created by the operator every week.
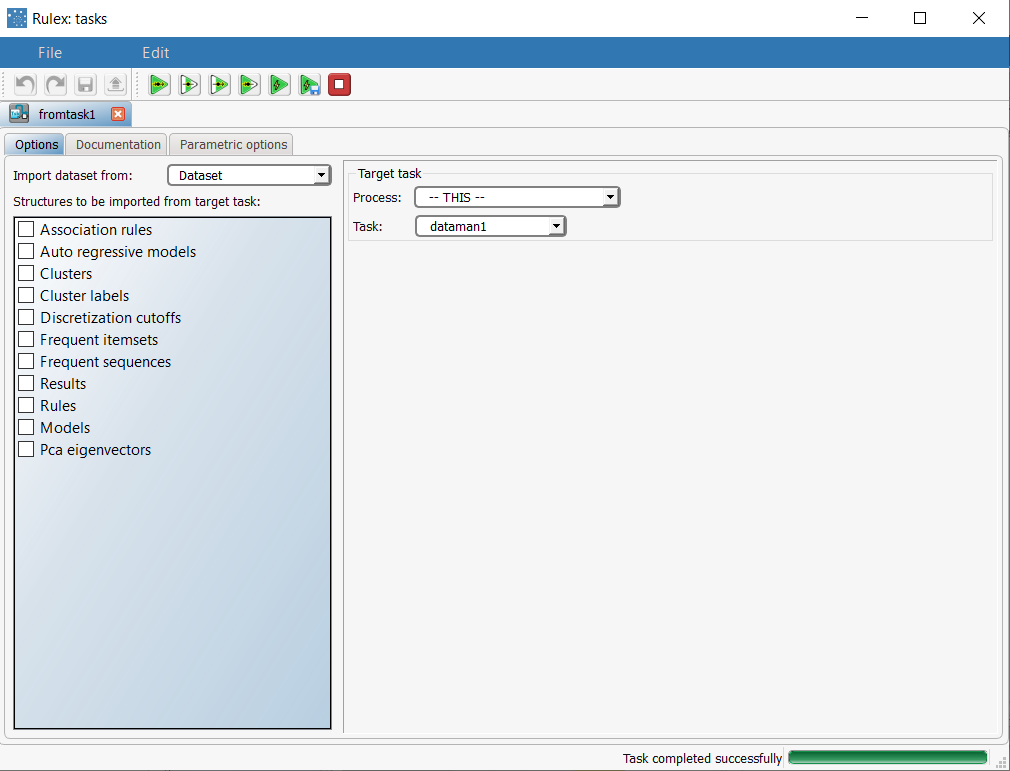
An Import from Task (Preivous results) task, which imports the results of the Results Data Manager task.
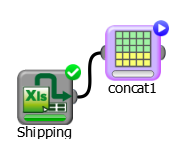
A Concatenate (concat1) task, which merges together the previous shipping list, with the new data provided this week.
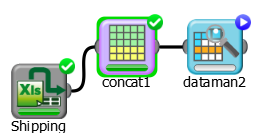
A Data Manager (Results) task that displays all the shipping data in a single table.
Description | Screenshot |
|---|---|
Double click the Import from Text File task and browse to the shipping.xlsx file. Save and compute the task. | |
Add a Concatenate task to the process, right-click it and select Compute Selected. | |
Add a Data Manager task to the process, right-click it and select Compute Selected. | |
Add an Import from Task task to the process, and connect it to the Concatenate task. Open the task and select the following:
| |
Record the actions that need to be repeated every time the source file is updated with new information.
| |
The next time records are updated in the source file, simply:
|
